

Steps to add chamfer dimension in 2D drawing
This blog, we will go through how to add chamfer dimension in 2D drawing and how to display chamfer dimension in various options available.
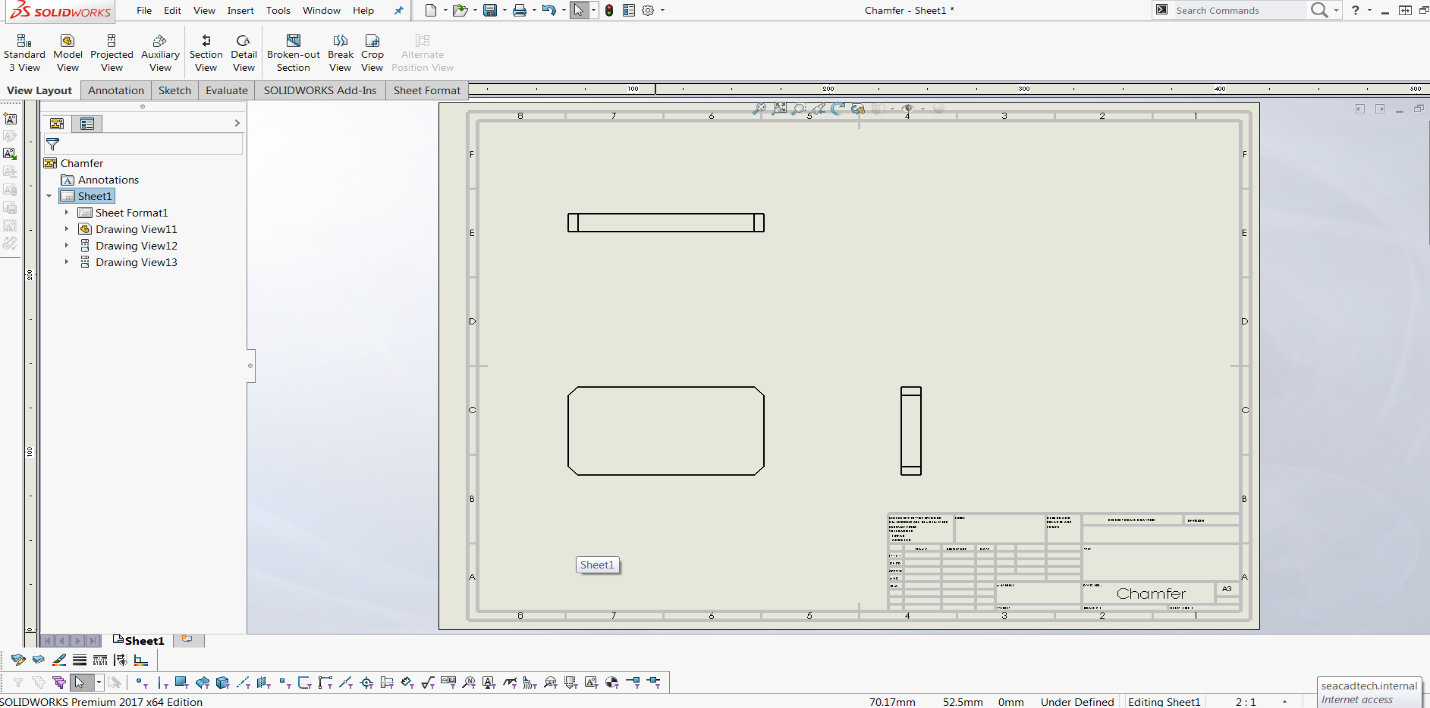
Below is the picture of simple 2D drawing with 4 corner edges are added with chamfer in model.
Step 1:
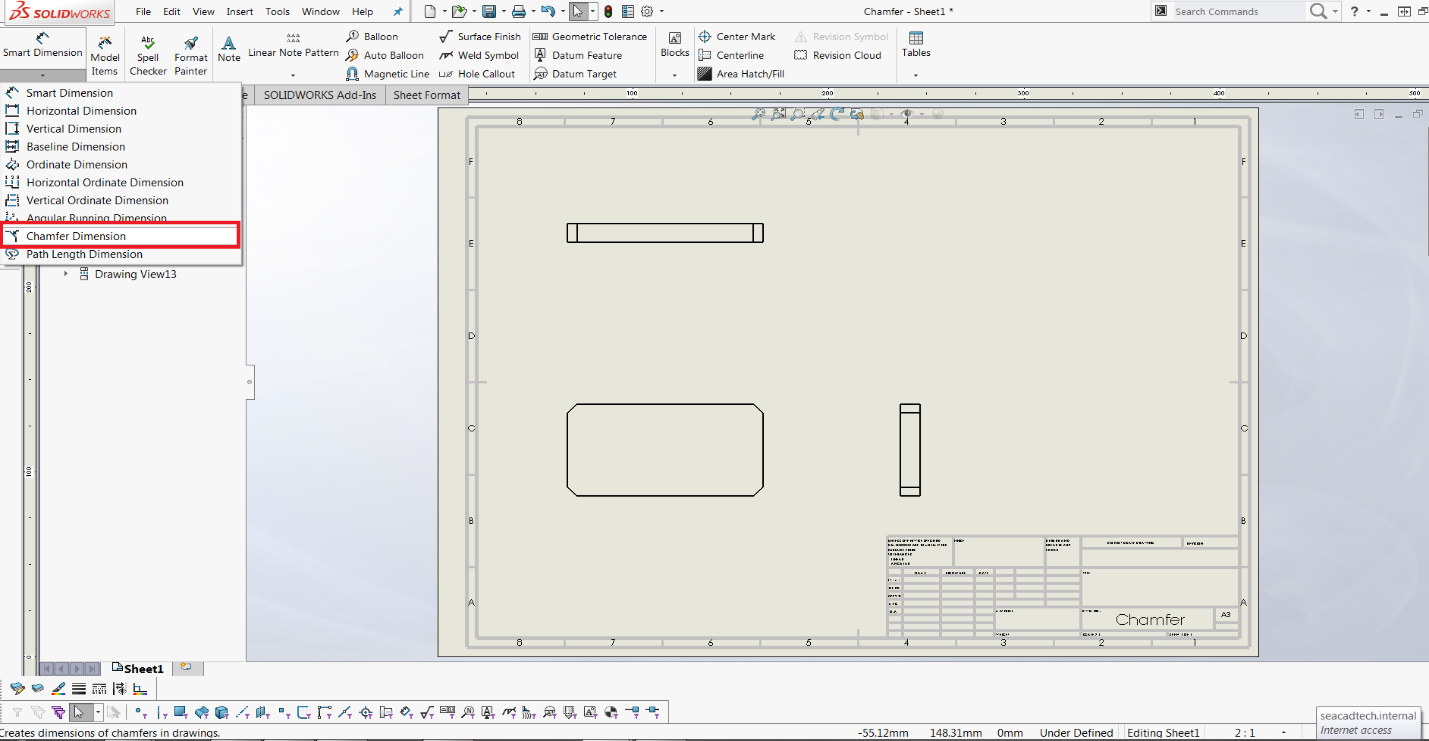
1.Go to Annotations -> Smart dimension -> Look for chamfer dimension and click chamfer dimension
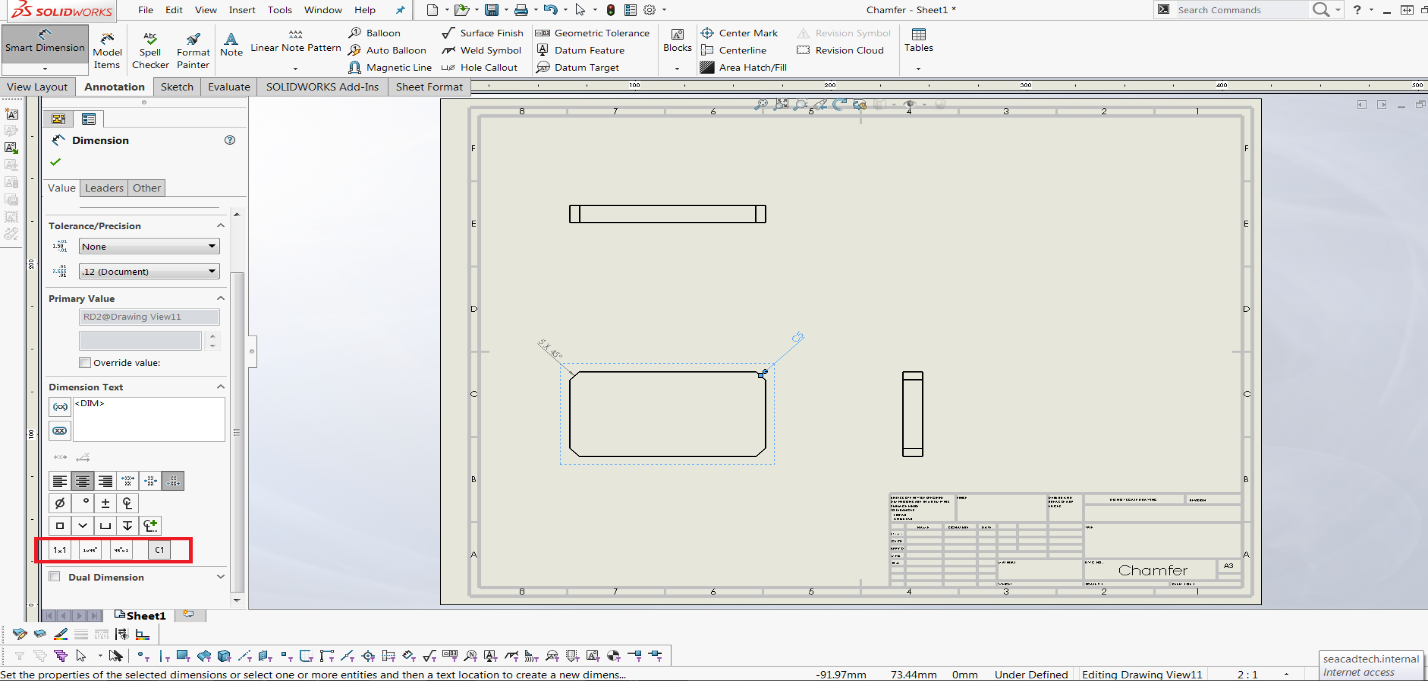
2. Select the chamfered edge, select one of the lead-in edges, and then click in the graphics area to place the dimension. You must select the chamfered edge first. However, the dimension does not appear until you subsequently select one of the lead-in edges.

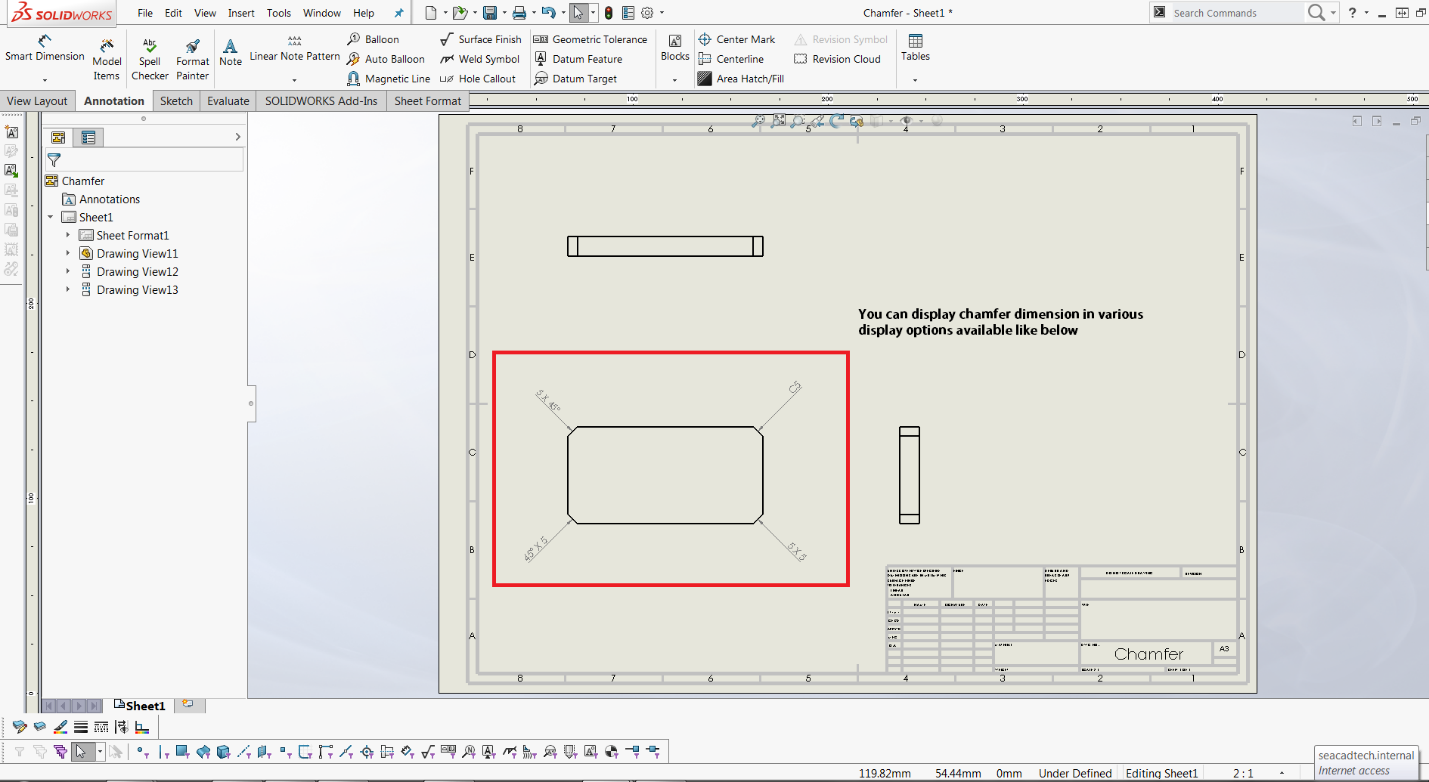
3. You can dimension chamfers in drawings. In addition to the usual dimension display properties, chamfer dimensions have their own options for leader display, text display, and X display. X display is the size of the X in a chamfer dimension with two numbers, such as 1 X 45° (Length X Angle), 45° X 1 (Angle X Length), 1 X 1 (Length X Length) or C1 (chamfers of 45°).
- To know more about our products, email us at marketing@seacadtech.com or contact us at +65 6372 1416
- For technical support, email us at support@seacadtech.com or contact us at +65 6226 3784
- Visit us at www.seacadtech.com